Advanced Search

Search Results (Searched for: video)

  • oskarra
  • oskarra's Avatar
30 May 2021 11:50
Replied by oskarra on topic Instalación exitosa de Devo F7 windows

Successful Devo F7 Install Windows

Category: Tutorials

Versión 5.0 works fine?could you show a video?
  • oskarra
  • oskarra's Avatar
30 May 2021 09:22
Replied by oskarra on topic Instalación exitosa de Devo F7 windows

Successful Devo F7 Install Windows

Category: Tutorials

Esta funcionando?
Funciona?
Seguro?tienes algun video?
  • machead
  • machead's Avatar
01 Aug 2020 06:53 - 01 Aug 2020 06:58
Replied by machead on topic My DEVO F12E cannot save changes after DFU!!!

My DEVO F12E cannot save changes after DFU!!!

Category: Tutorials

Hi Firefoxf18,

I finally got it to work after tinkering with it for a few years :blink:

Basically, I followed your link on installing on the F series and it now works.

1. I installed Walkera dfuse on a fresh computer (no previous versions of dfuse or deviation upload).

2. Put the F12E into DFU mode and upgraded with the latest nightly built. (31/7/2020)

3. Switched off the F12E after firmware had been successfully uploaded.

4. Switched on the F12E and it mounted as an external drive.

5. Deleted the Devo.fs file on the F12E and replaced it with the one that came with nightly built.

6. Ejected the usb disk and kept my fingers crossed.

7. Fired up the F12E and it works!!!!

I tried binding with a DSM2 model and connect to a video source. Both with success. And more importantly it saved the settings after powering down.

Will put in the other rf modules in due time. All the best to you.
  • eried
  • eried's Avatar
13 Jan 2020 14:06
Replied by eried on topic T8SG v2 plus carbon updating help

T8SG v2 plus carbon updating help

Category: Tutorials

txinsuranceguy wrote: I have Firmware v5.0.0-abc5dcf i'm guessing this is pretty old?

Should i be using the latest nightly as there is no other version on the downloads section. What would i gain?


Few improvements, for example hold to turn off. But if you do not miss anything then I guess it is better to keep that firmware for now.

txinsuranceguy wrote: i have windows 10 pro
when i copy from the "usb drive from the computer model10 is always corrupt"


Remove the USB drive safely from Windows, click the traybar icon, remove and wait until a message says "It is safe to remove". Then disable USB in the remote.

txinsuranceguy wrote: i have downloaded the deviationsupload-0.9.9.jar file but not sure what to look for inside it.
i have downloaded and clicked all the application files on the DFU USBdrv Installer-1.1
i have downloaded the STM32 and unzipped that

i downloaded the emulator and it ran but i can't do anything with that.

what i'm curious is all the update videos and documents say to use a program to upload the DFU i cannot find that "walkera" program. its not in the location in the video.

thoughts?

just leave it as is since its working great?


I do not know what those programs do, for upgrading the firmware I just use www.walkera.com/en/upload/upgrade/DevoDfuSe%20V2.0.zip read the instructions here:
www.deviationtx.com/manuals/html-devo10-en/ch_install.html
  • txinsuranceguy
  • txinsuranceguy's Avatar
13 Jan 2020 03:51
T8SG v2 plus carbon updating help was created by txinsuranceguy

T8SG v2 plus carbon updating help

Category: Tutorials

I have Firmware v5.0.0-abc5dcf i'm guessing this is pretty old?

Should i be using the latest nightly as there is no other version on the downloads section. What would i gain?

i have windows 10 pro
when i copy from the "usb drive from the computer model10 is always corrupt"

i have downloaded the deviationsupload-0.9.9.jar file but not sure what to look for inside it.
i have downloaded and clicked all the application files on the DFU USBdrv Installer-1.1
i have downloaded the STM32 and unzipped that

i downloaded the emulator and it ran but i can't do anything with that.

what i'm curious is all the update videos and documents say to use a program to upload the DFU i cannot find that "walkera" program. its not in the location in the video.

thoughts?

just leave it as is since its working great?
  • gpo123
  • gpo123's Avatar
06 May 2019 08:17 - 06 May 2019 09:30
Safe arming with 2 switches was created by gpo123

Safe arming with 2 switches

Category: Tutorials

I have setup my Taranis to use safe arming with two switches just like JB explained it in his video:
Safer Switch Arming on FrSky Taranis

For convenience I wanted to get this working on my Jumper T8 too. I also wanted to explore the possibilities of the virtual channels and the complex mixers. After an afternoon fiddling around I came up with this solution:

[virtchan1]
template=complex
[mixer]
src=!THR
dest=Virt1
switch=SW H1
usetrim=0
curvetype=min/max
points=98
[mixer]
src=AIL
dest=Virt1
switch=SW H0
scalar=-100
usetrim=0
curvetype=fixed

[virtchan2]
template=complex
[mixer]
src=SW D1
dest=Virt2
switch=Virt1
scalar=-100
usetrim=0
curvetype=less-than-0
points=0
[mixer]
src=AIL
dest=Virt2
switch=SW D1
scalar=-100
usetrim=0
curvetype=fixed

What it does: It is arming the model if both the shoulder switch H and switch G are triggered simultaneously and the throttle is below -98 at lowest position. The motor disarms immediately when switch G is put back in the middle position. You can change the disarm behaviour to a two switch disarming if you don't put in the second mixer on virtchan2. In this case the model will disarm when switch G is the middle position and shoulder switch H is flipped. The output of virtchan2 is 100 if the model should be armed and -100 to disarm. If you want to use it as a safety switch in a channel then you must invert the output of virtchan2:

[channel3]
safetysw=!Virt2
safetyval=-150

There are two caveats: Firstly, I have changed the shoulder switch H on my Jumper T8 to a momentary switch, just as it is on my Taranis. My solution is only practical if you use shoulder switch H as a momentary switch: Flip it for arming then set it directly back to the default position. Secondly this won't work for inverted flight modes.
Feel free to comment if you have ideas to implement this feature in a more simplistic way. But bare in my mind that this was my first dealing with complex mixers and virtual channels.
  • hexfet
  • hexfet's Avatar
15 Apr 2019 20:40
Replied by hexfet on topic Factory reset settings for Jumper T8SG

Factory reset settings for Jumper T8SG

Category: Tutorials

Everything about the installation goes smoothly? Maybe post a video link of going through the install if there's any doubt. Which installer are you using?
  • Astermaster
  • Astermaster's Avatar
13 Apr 2019 19:13
Replied by Astermaster on topic Factory reset settings for Jumper T8SG

Factory reset settings for Jumper T8SG

Category: Tutorials

Apparently deviation has the files according to steps I have seen on Youtube and in the manual. The person on that video seemed more interested in proving how fast he could reset the settings, and no information on how to dump the files to start over, so it was of no use to me. To my knowledge the good people that produce the Jumper transmitters, have not seen fit to offer any help in that respect. Without any slow step by step directions, both of my Jumper transmitters will spend another year in their box. I am new at this and old, but patient. Let me know if you find any easy way to fix the "Jumper self destruction problem".
  • Theoretiker
  • Theoretiker's Avatar
16 Jan 2018 18:55 - 16 Jan 2018 21:13
Replied by Theoretiker on topic How to upgrade Devo TX to Deviation Firmware

How to upgrade Devo TX to Deviation Firmware

Category: Tutorials

Hi at all,

i hope i'm right here.
For all german users, i have done a short tutorial how to and first steps with deviation and devo7e


Regards Oliver
  • WildDoktor
  • WildDoktor's Avatar
07 Nov 2017 04:20
Acro mode for Inductrix FPV was created by WildDoktor

Acro mode for Inductrix FPV

Category: Tutorials

Can somebody help me get my 7e setup so I can fly my Indi FPV in acro mode?

That's the question; here's a bit of history!

I found Ethernode's setup file here: www.deviationtx.com/forum/model-configs/...ix-for-devo-7e#59143 . It works great for flying the Indi FPV in "regular" mode; the "rates" switch works as well, and by now I'm finally flying in "100%" mode (FMOD switch).

But as soon as I flip the MODE switch to Acro, the Indi becomes impossible to fly...the slightest movement of the sticks acts like I just rammed the stick to the stops (the throttle doesn't do that). It doesn't matter which way the FMOD switch is flipped.

I'm *not* an acro guy; I do have FPV Freerider and the free DRL sim installed, and can kind of fly those (with my 7e), but the Inductrix...no way.

(Recently I bought an eachine e011 and put the Indi FPV board/camera/canopy into it, got the motors installed correctly, and it still acts the same way.)

It just seems like I need to somehow "calm down" the controls (in the 7e) when I flip the switch to Acro. I've looked at dozens of tutorials and videos, but haven't found one that makes sense to me.

So: Anybody care to work with me on this? :-)

I attached the .ini that ethernode uploaded, just so you don't have to go looking for it. I'm using it "as is" on my 7e.

Thanks!
  • airex
  • airex's Avatar
18 Oct 2017 22:31 - 18 Oct 2017 22:43
Replied by airex on topic 7e/Ultimate7e, adding the devo version 4in1

7e/Ultimate7e, adding the devo version 4in1

Category: Tutorials

I have put the xm+ in bind mode and selected "frsky" on the transmitter. When I press re-init nothing pops up on the screen. Also I the power is stuck at 150mw. Range test says unavailable. Also when scrolling through the protocols when I press enter none of them open up for further options like seen in videos.

Just double checked wiring, looks good. Only different between mine and the pic below is I did actually connect the wire to the cpu pin.

I am using this

www.banggood.com/CC2500-NRF24L01-A7105-C...07.html?rmmds=search

Latest stable build of 5.0. I copied the file system over.

enable-cyrf6936 = B12
has_pa-cyrf6936 = 1
; enable-a7105 = A13
; has_pa-a7105 = 1
enable-cc2500 = A14
has_pa-cc2500 = 1
enable-nrf24l01 = A13
has_pa-nrf24l01 = 1
; enable-multimod = A13

  • RubenRC
  • RubenRC's Avatar
30 Aug 2017 06:51
Replied by RubenRC on topic How to load an F12E with Deviation(Possibly F7)

How to load an F12E with Deviation(Possibly F7)

Category: Tutorials

planetfpv wrote: So I found a thread suggesting to also read the devo f4 thread and got a lot of help from that. On my devo f7 I was able to get dsmx and dsmx and devo protocols. I ordered my 4 in 1 so I can use my frsky receivers.

The video works great when I flew my blade fpv nano. I set my aux 2 to activate the video. At some point I accidently set my throttle to start video so I had to hold full stick to fix it.

Dsmx and dsm2 binding was very and my blade nano flew great. My cheerson cx10 dsm2 flew fine and didn't notice any issues either.


Hey Planetfpv what did you do to get dsmx to work? I have the protocol enabled and I can bind but the controls are all wrong even when I check betaflight it shows I have the correct channel map. Did you use a dsmx protocol from another build? Thanks in advance!
  • Road_thing
  • Road_thing's Avatar
25 Jul 2017 00:28
Replied by Road_thing on topic How to upgrade Devo TX to Deviation Firmware

How to upgrade Devo TX to Deviation Firmware

Category: Tutorials

New guy here, just got a Devo 7e to fly my micro quads and I'm trying to figure out the Deviation firmware upgrade. I watched Tom Z's tutorial video and tried to follow it step by step but the Walkera website no longer has a "service" tab. So where do I find the drivers, etc. that I need to get this done? Is there another tutorial somewhere?

Thanks in advance!
  • planetfpv
  • planetfpv's Avatar
15 Jul 2017 20:21
Replied by planetfpv on topic How to load an F12E with Deviation(Possibly F7)

How to load an F12E with Deviation(Possibly F7)

Category: Tutorials

Could the text on my devo f7 screen be adjusted? When I switch on the video it stretches the text out.
  • planetfpv
  • planetfpv's Avatar
14 Jul 2017 20:12
Replied by planetfpv on topic How to load an F12E with Deviation(Possibly F7)

How to load an F12E with Deviation(Possibly F7)

Category: Tutorials

RubenRC wrote: Nice do you have a any issues with FPV or does it work good? Did you do the 4mb mod or just stock with the firmware mod?


I didn't do the 4mb mod just deviation. The video works fine but not as fluid to set up as stock fw. I ended up changing the channel on my vtxto find my devo vrx. While setting up the video activation I accidently set my rudder then thr to control it so I only had a blue screen. I'm going to bind my runner 250 gps to it this evening to test the vide outdoors.

On my nano the first after my initial bind I had no response from the quad but it could have been the nano not the f7. It worked when I restarted both the F7 and nano.
  • planetfpv
  • planetfpv's Avatar
14 Jul 2017 18:49 - 14 Jul 2017 18:51
Replied by planetfpv on topic How to load an F12E with Deviation(Possibly F7)

How to load an F12E with Deviation(Possibly F7)

Category: Tutorials

So I found a thread suggesting to also read the devo f4 thread and got a lot of help from that. On my devo f7 I was able to get dsmx and dsmx and devo protocols. I ordered my 4 in 1 so I can use my frsky receivers.

The video works great when I flew my blade fpv nano. I set my aux 2 to activate the video. At some point I accidently set my throttle to start video so I had to hold full stick to fix it.

Dsmx and dsm2 binding was very and my blade nano flew great. My cheerson cx10 dsm2 flew fine and didn't notice any issues either.
  • Arakon
  • Arakon's Avatar
18 Apr 2017 15:36
Replied by Arakon on topic Devo 7E NRF24lu1 dissapointing range (30M) problem

Devo 7E NRF24lu1 dissapointing range (30M) problem

Category: Tutorials

Some RF modules pull the antenna pin to GND while it's powered off.. happens on video transmitters too, for example. Check while it has power.. careful not to cause a short circuit, of course.
  • Rironlemalin
  • Rironlemalin's Avatar
16 Mar 2017 21:32
Replied by Rironlemalin on topic Installing the new Banggood 4 in 1 in Devo 10?

Installing the new Banggood 4 in 1 in Devo 10?

Category: Tutorials

First of all, sorry for my english (i'm french, nobody's perfect).
you're right compman2 i'm looking for someone who did it (like in the video topic #600069 just before ).
Are you talking about this video, proud father ?? because there are only 3 wires to solder in the one i 've posted.
Is that a good solution, does it work fine ? TX
  • compman2
  • compman2's Avatar
16 Mar 2017 19:28
Replied by compman2 on topic Installing the new Banggood 4 in 1 in Devo 10?

Installing the new Banggood 4 in 1 in Devo 10?

Category: Tutorials

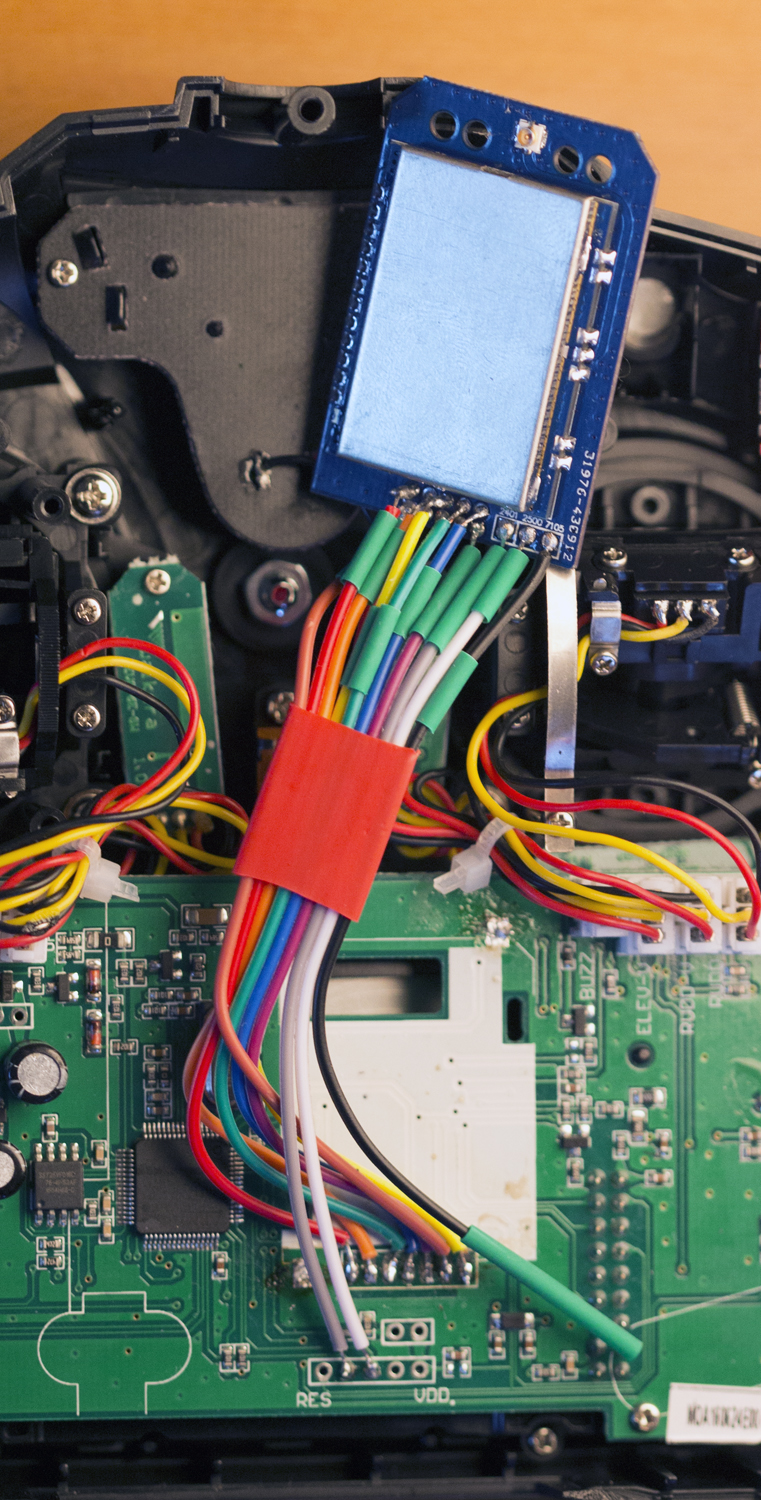
This video is showing the installation of the 3 in 1 which is much more work than the 4 in 1 module. The 4 in 1 module is a direct plug replacement to the stock module in the Devo 10 making much of the soldering in the video unnecessary.

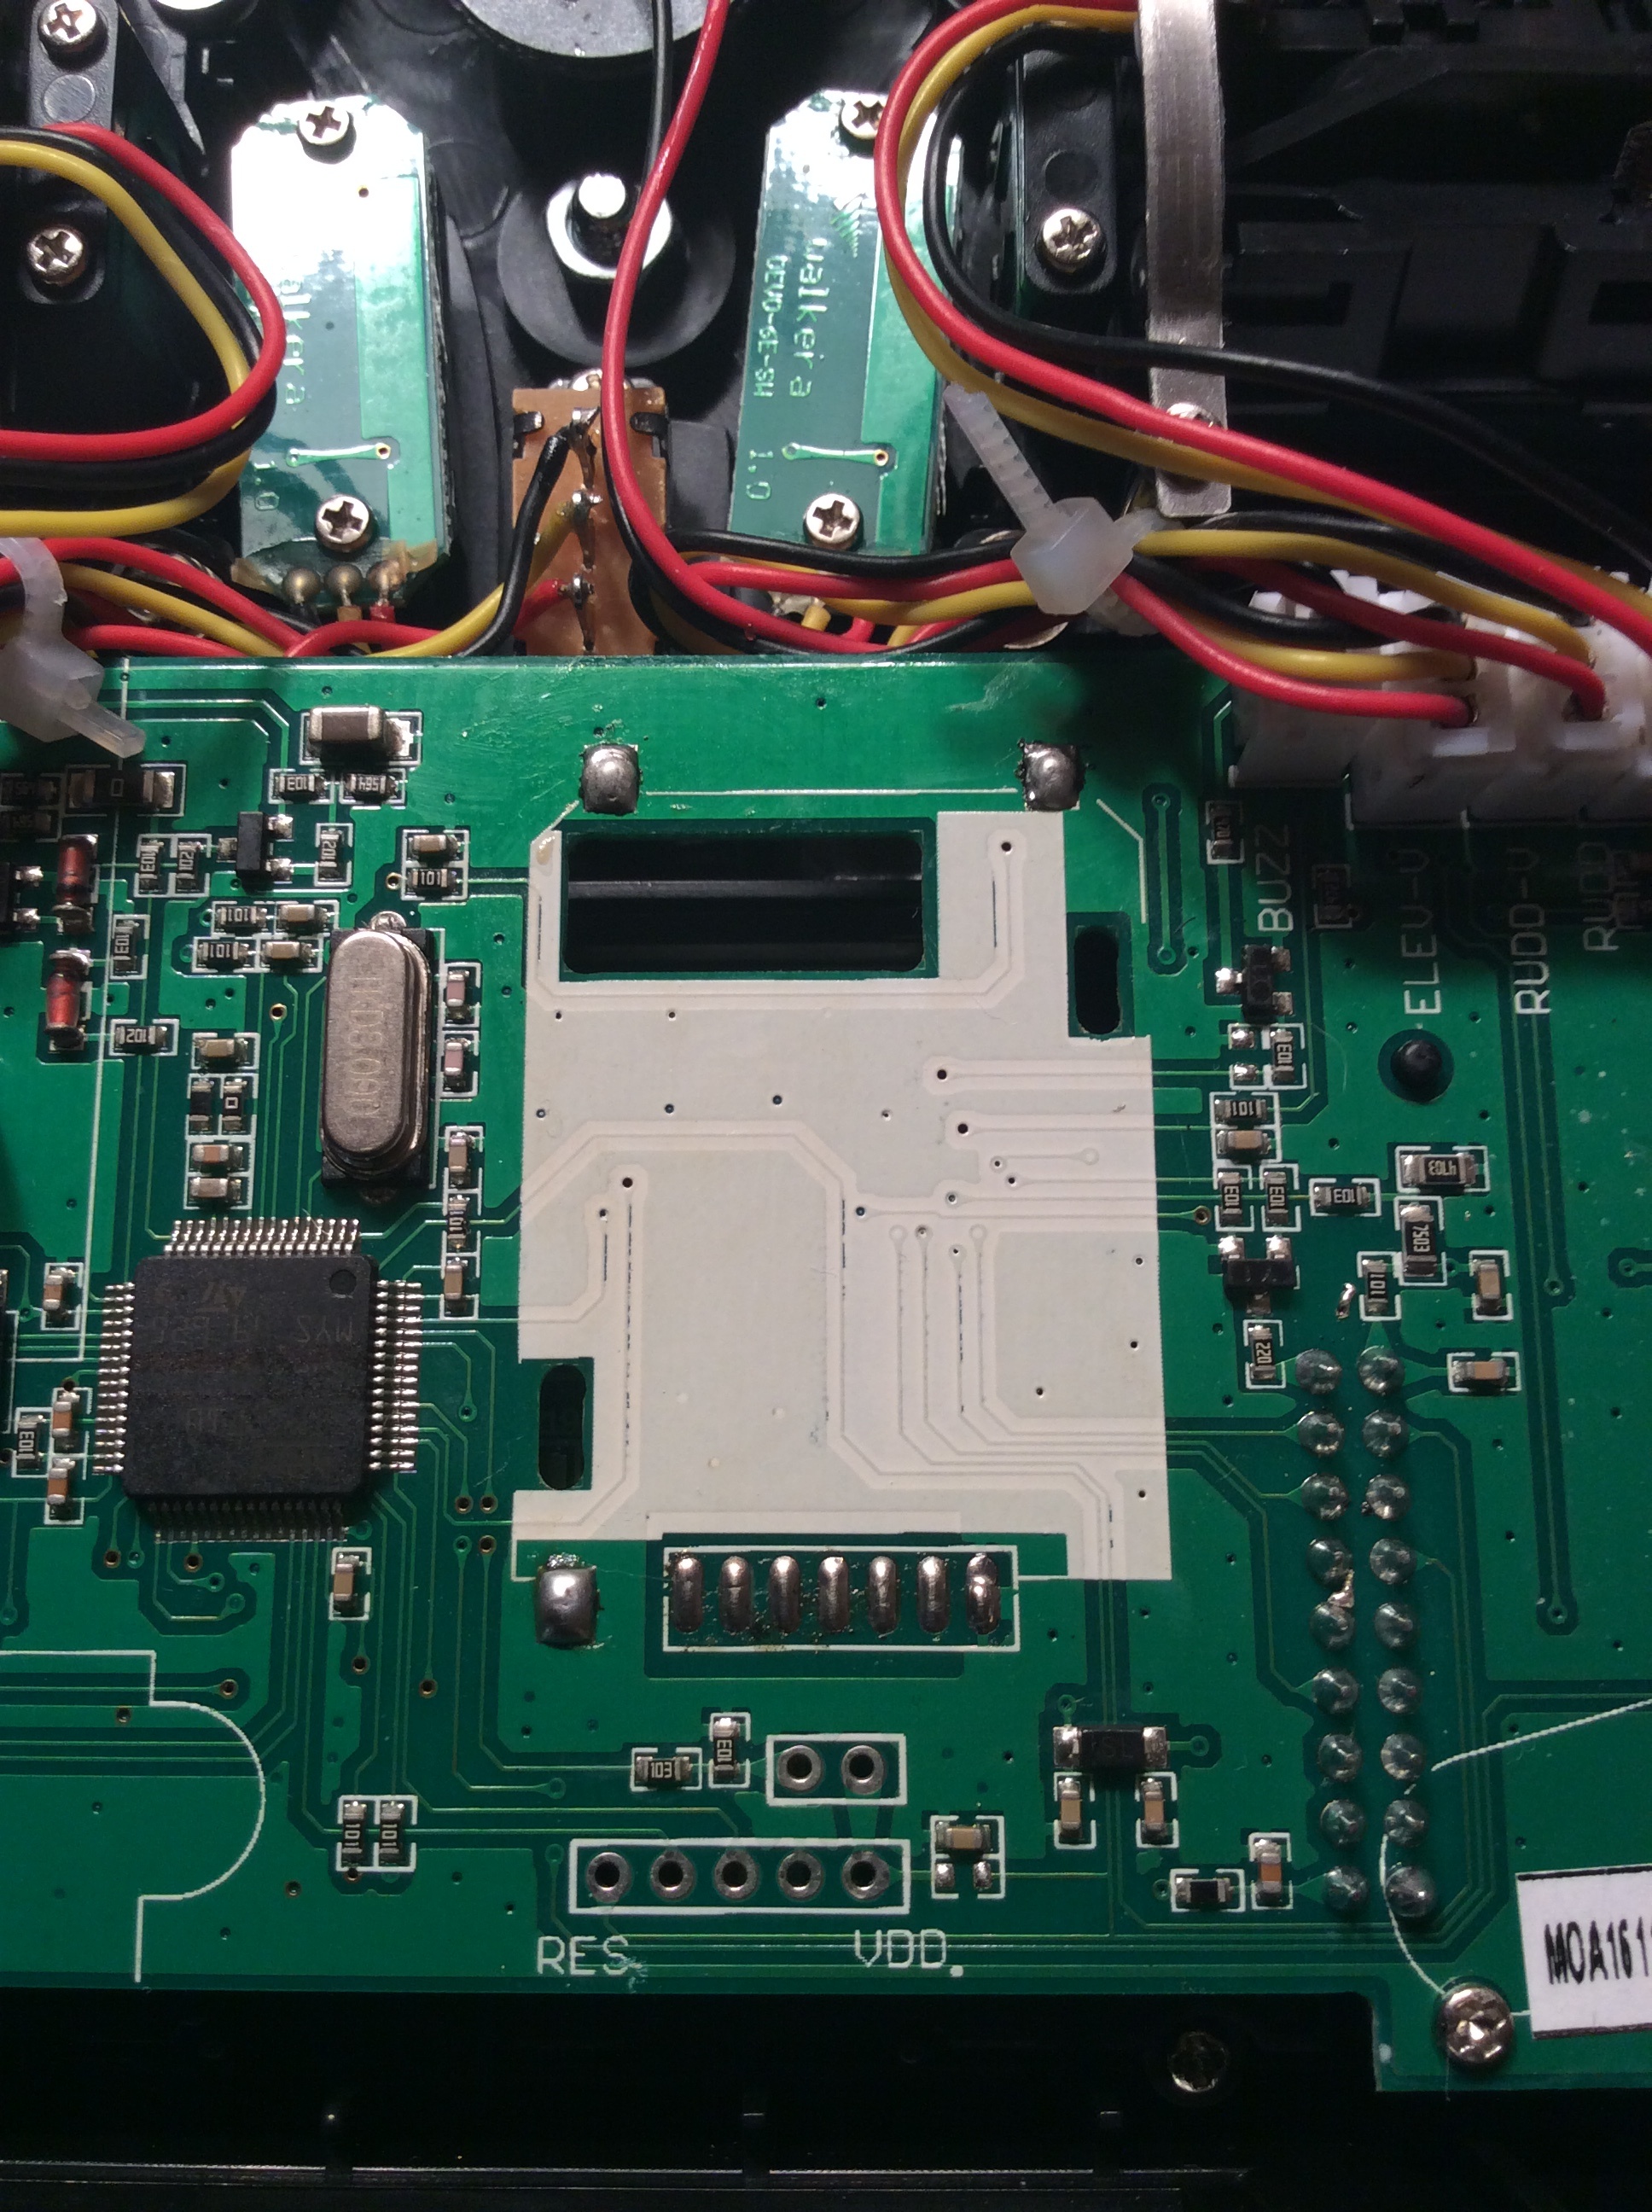
You simply remove a screw and unplug the origional module. Once done you solder the three module selector wires, one to TMS (pad marked on the board), TCK (pad marked on the board), and B7 another free pad on the board but not labeled.

I did this on my Devo 12E which is almost identical to the Devo10. It is really easy as there are only 3 wires to solder
  • ClittleJ
  • ClittleJ's Avatar
09 Mar 2017 10:22
Replied by ClittleJ on topic 7e/Ultimate7e, adding the devo version 4in1

7e/Ultimate7e, adding the devo version 4in1

Category: Tutorials

I have very little to no soldering skills. I watched a lot of videos on how to remove surface mount parts, and methods. Many people recommend chip quick but I didn't have access. So I practiced adding solder to surface components on an old RC controller and removing them. The solder holding on the 7e module was hard to melt. I had to add a bunch of lead solder to the top two points first and melt all of that, I removed as much as I could with solder wick and decided to work on the bottom section. Again I added a bunch of lead solder all over all of the connections. Kept swiping the tip back and forth. You could feel the harder solder underneath the lead stuff and I kept lightly scraping away at it until it felt smooth. (On the bottom left corner of the original module RF shield, there is a little slot just big enough to fit a small precision flat top screw driver into, I used this to apply very slight upward pressure on the module while I was melting away at the solder below) out of nowhere the front of the module slowly started to come upward and I knew I had it! Just kept swiping back and forth until there was no solder connecting the board to the bottom of the chip. The top was then very easy to finish removing. I used again solder wick to pick up all the extra solder, wiped everything down with alcohol and it was complete. I recommend this method, as I have had almost no previous soldering experience, and it luckily went without a hitch. Just be patient.
I'm dealing with a seperate issue now with a burnt MOSFET ; ; ..but the module removal couldn't have went better. Hope this info helps. Cheers!
Displaying 1 - 20 out of 87 results.
Time to create page: 0.100 seconds
Powered by Kunena Forum